Sonica 1 – Headphone Amplifier With TPA6120A Part II – PCB Assembly and Rebuild

After some waiting for Sonica 1’s PCB they have arrived. As usual, the quality was very good. I had made a few mistakes, but nothing serious. I will take a few minutes to explain what I had to fix and how the assembly and rebuild of the original amplifier went. The end result was as expected, no change in sound quality.

Continue reading “Sonica 1 – Headphone Amplifier With TPA6120A Part II – PCB Assembly and Rebuild”

Sonica 1 – Headphone Amplifier With TPA6120A Part I – Schematic And PCB Design

A month ago I started thinking about rebuilding my good old headphone amplifier with TPA6120A. I didn’t realize it was that old until I decided to translate the original article in English. It’s been 7 years and I though it was 3 or 4. Time passes quickly, it seems. I spent some time thinking how to improve it. Now the PCB and components are ordered and once I get them, assembly will take place in the same chassis. What’s new and improved? A number of things in fact.

The list of updates is as follows:

  1. Single PCB to include all blocks except input and output connectors
  2. Encapsulated toroidal transformer for PCB mounting
  3. Double the capacitors in the regulator (2x2200uF for each polarity)
  4. All electrolytic capacitors are now Panasonic FR series (newer and better than FC)
  5. All 100nF decoupling capacitors are now polyester WIMA MKS02 (smaller, allowing them to be closer to TPA6120A). Not as great as the polypropylene Panasonic, but more than sufficient
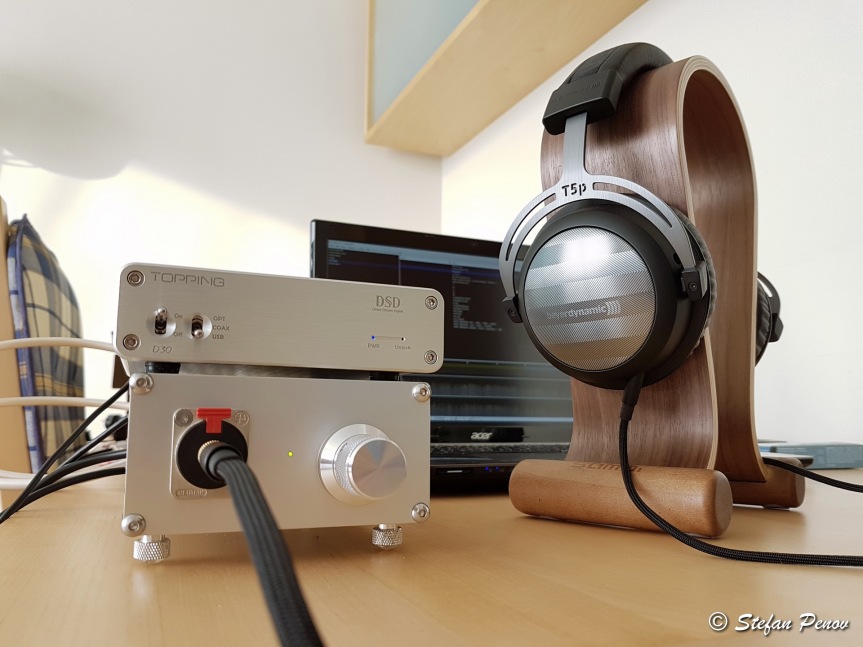
  6. ALPS Blue Velvet potentiometer
  7. New heatsinks for the voltage regulators
  8. All possible components switched to SMD
  9. Rectifier diodes changed to 2A model
  10. Delay On circuit has now its own voltage regulator
  11. Delay On circuit error fixed – output was switched off when the large capacitors discharged, now this happens when the switch is turned off (well, around 50ms later)
  12. Delay setting trim potentiometer is replaced with Bourns precise model for easier setting of desired delay
  13. Power LED will now turn on and off together with the headphone relay
  14. The new PCB has option for 115V in addition to 230V (supported by the new transformer)
  15. New volume knob

Let’s take a closer look at the design decisions made, updates and why they were needed.
Continue reading “Sonica 1 – Headphone Amplifier With TPA6120A Part I – Schematic And PCB Design”

Headphone Amplifier With TPA6120A Part II – Finished Product

Somehow I forgot to translate this second part of the Headphone Amplifier project from Bulgarian to English. Better late then never 🙂 The project has been finished in March 2010 and all relative time references should be linked to that date. That was quite a while ago. It seems I have lost track of time or I’m just getting older. I am building an updated version at the moment and I will post an article about it soon. Now let’s go back to the finishing of the first version.

Time has come to finish the project, started long ago, headphone amplifier with TPA6120A. After I finished the assembly of the PCB for the amplifier and performed some tests in August 2009, I just didn’t have an opportunity to finish what I have started. Now everything came in its place and one PCB became a finished product. The final version combines the amplifier together with toroidal transformer, voltage regulator and circuit for delayed output enabling in a nice aluminum enclosure. Continue reading “Headphone Amplifier With TPA6120A Part II – Finished Product”

Home Theater Automatic Cooling – Hardware

Furniture manufacturer IKEA hardly makes any TV tables, capable of accommodating large audio-video equipment for home theater systems. On top of that the few available models haven’t been designed with cooling in mind so they have no opening on the back to let the hot air out. This might easily result in overheating of expensive equipment. I decided to solve this issue with my home theater system by designing automatic cooling device. It has two zones of operation for which temperature limits can be set separately. It uses two digital temperature sensors and two PWM controller cooling fans.

This first part of the project will be about the hardware I chose and the PCB design.

ht_auto_cool_pic4

Continue reading “Home Theater Automatic Cooling – Hardware”

Hi-End Speaker Cables

Recently I started updating my sound and home cinema system. Most of it of course I bought from different shops, but some things I like to do myself. It saves money sometimes and counts as a hobby. What did I do? Well, I didn’t have enough time to design and build my own amplifier or another pair of nice speakers, so I ended up making my own speaker cables. What’s so special about that? You just get some cable, strip the ends, put it in the screw terminals on the speakers and the amplifier and you are done, you say. Not when you try to achieve high performance. Here is what it looks like.

speaker_cable5

It isn’t very difficult to make such nice looking cable and it saves money. Continue reading “Hi-End Speaker Cables”